The 7 Sins of Waterproofing (And How to Avoid Them)
Waterproofing is one of the most critical stages of any new construction or remediation project. When done correctly, it’s an invisible guardian, protecting a structure’s integrity from the relentless threat of moisture. When done poorly, it can lead to catastrophic failures, from crumbling foundations and rampant mould growth to costly, disruptive repairs.
Steering clear of common pitfalls is key to a successful outcome. This guide breaks down the seven most common (and costly) sins of waterproofing and provides clear, actionable advice on how to get the job right the first time. By avoiding these mistakes, you can ensure a durable, leak-proof finish that stands the test of time.
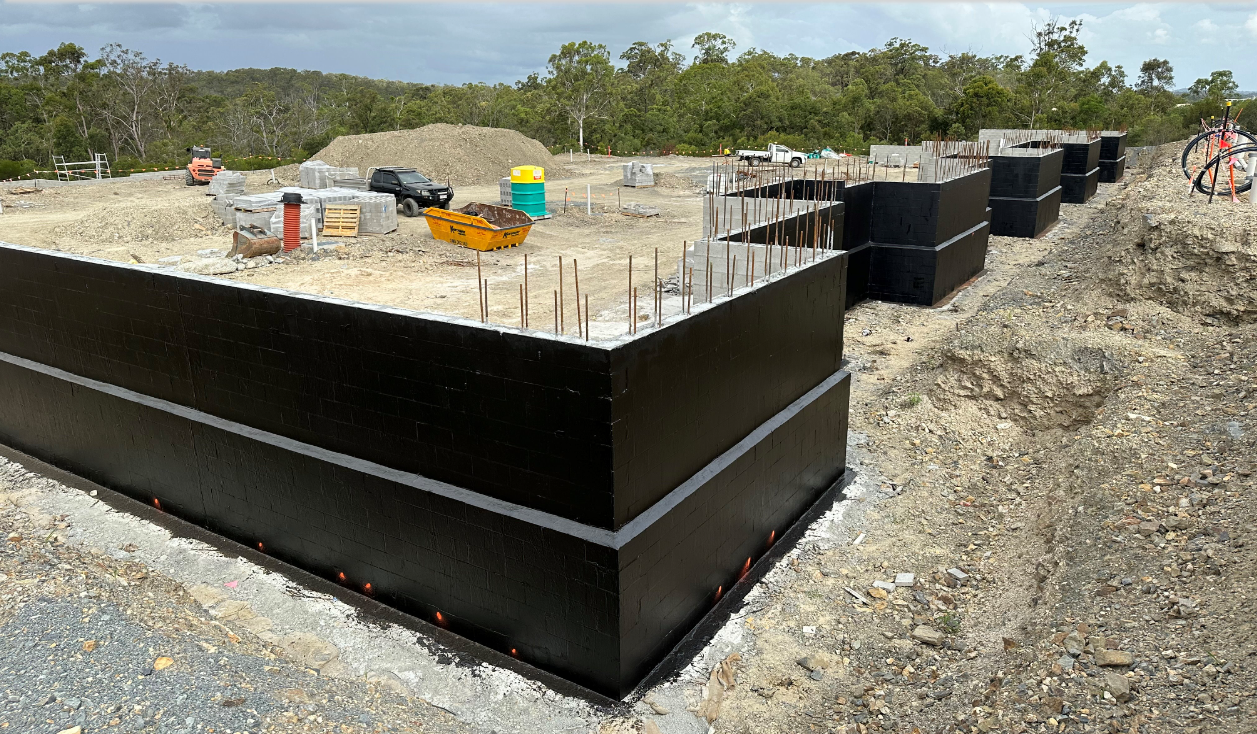
[A seamless application of TREMproof 250GC]
Sin #1: Terrible Surface Preparation
Just as you wouldn’t paint on a dirty, dusty wall, you can't apply a waterproofing membrane to an unprepared surface and expect it to work. This is arguably the most common and damaging sin. Contaminants like dust, grease, loose debris, or previous coatings will prevent the new membrane from bonding correctly.
How to Avoid It:
Surface preparation is non-negotiable. Your substrate must be clean, sound, and dry.
Sin #2: Choosing the Wrong Material for the Job
The world of waterproofing is vast. There are sheet membranes, liquid-applied systems, and cementitious coatings, just to name a few. Using a product designed for a below-grade foundation on an exposed rooftop balcony is a recipe for disaster. Each material has specific properties - like UV stability, flexibility, and chemical resistance, that make it suitable for certain applications and completely wrong for others.
How to Avoid It:
Do your homework and match the product to the project.
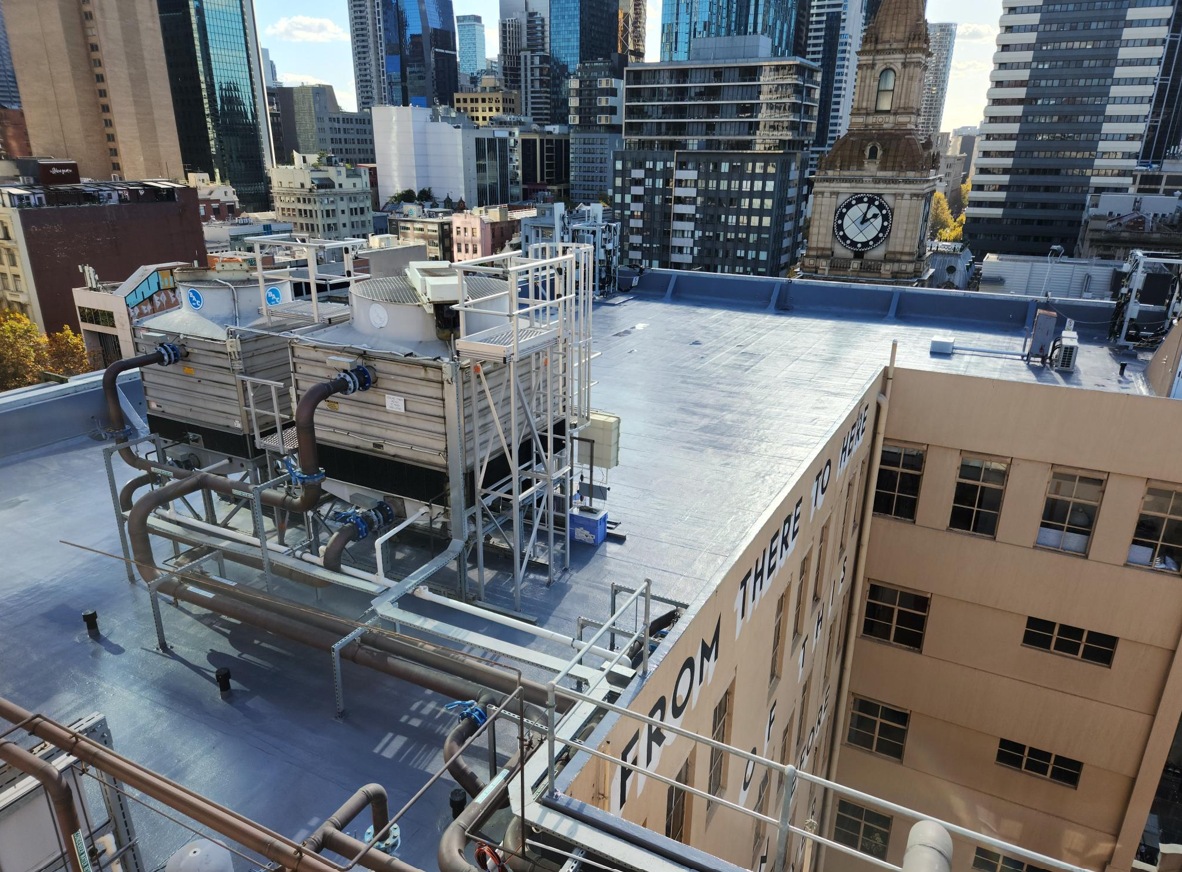
[Areas exposed to sunlight, such as a rooftop, require a UV-resistant product that helps extend the useful life of the structure]
Sin #3: Ignoring the Details
Water will always find the path of least resistance. In waterproofing, this path is almost always a poorly handled detail. Corners, joints, seams, and penetrations (like pipes or drains) are the most vulnerable points in any system. Simply painting a thick coat over these areas isn't enough; they require special attention and detailing.
How to Avoid It:
Treat every detail with precision.
Sin #4: Applying Too Little (or Too Much) Product
More is not always better, and less is definitely not enough. Waterproofing membranes are engineered to perform at a specific thickness, measured in Wet Film Thickness (WFT) and Dry Film Thickness (DFT). Applying too little product creates a weak, thin barrier that can easily fail under pressure or wear. Conversely, applying too much in a single coat can lead to improper curing, cracking, and a waste of material.
How to Avoid It:
Measure and follow the manufacturer's or supplier’s specifications.
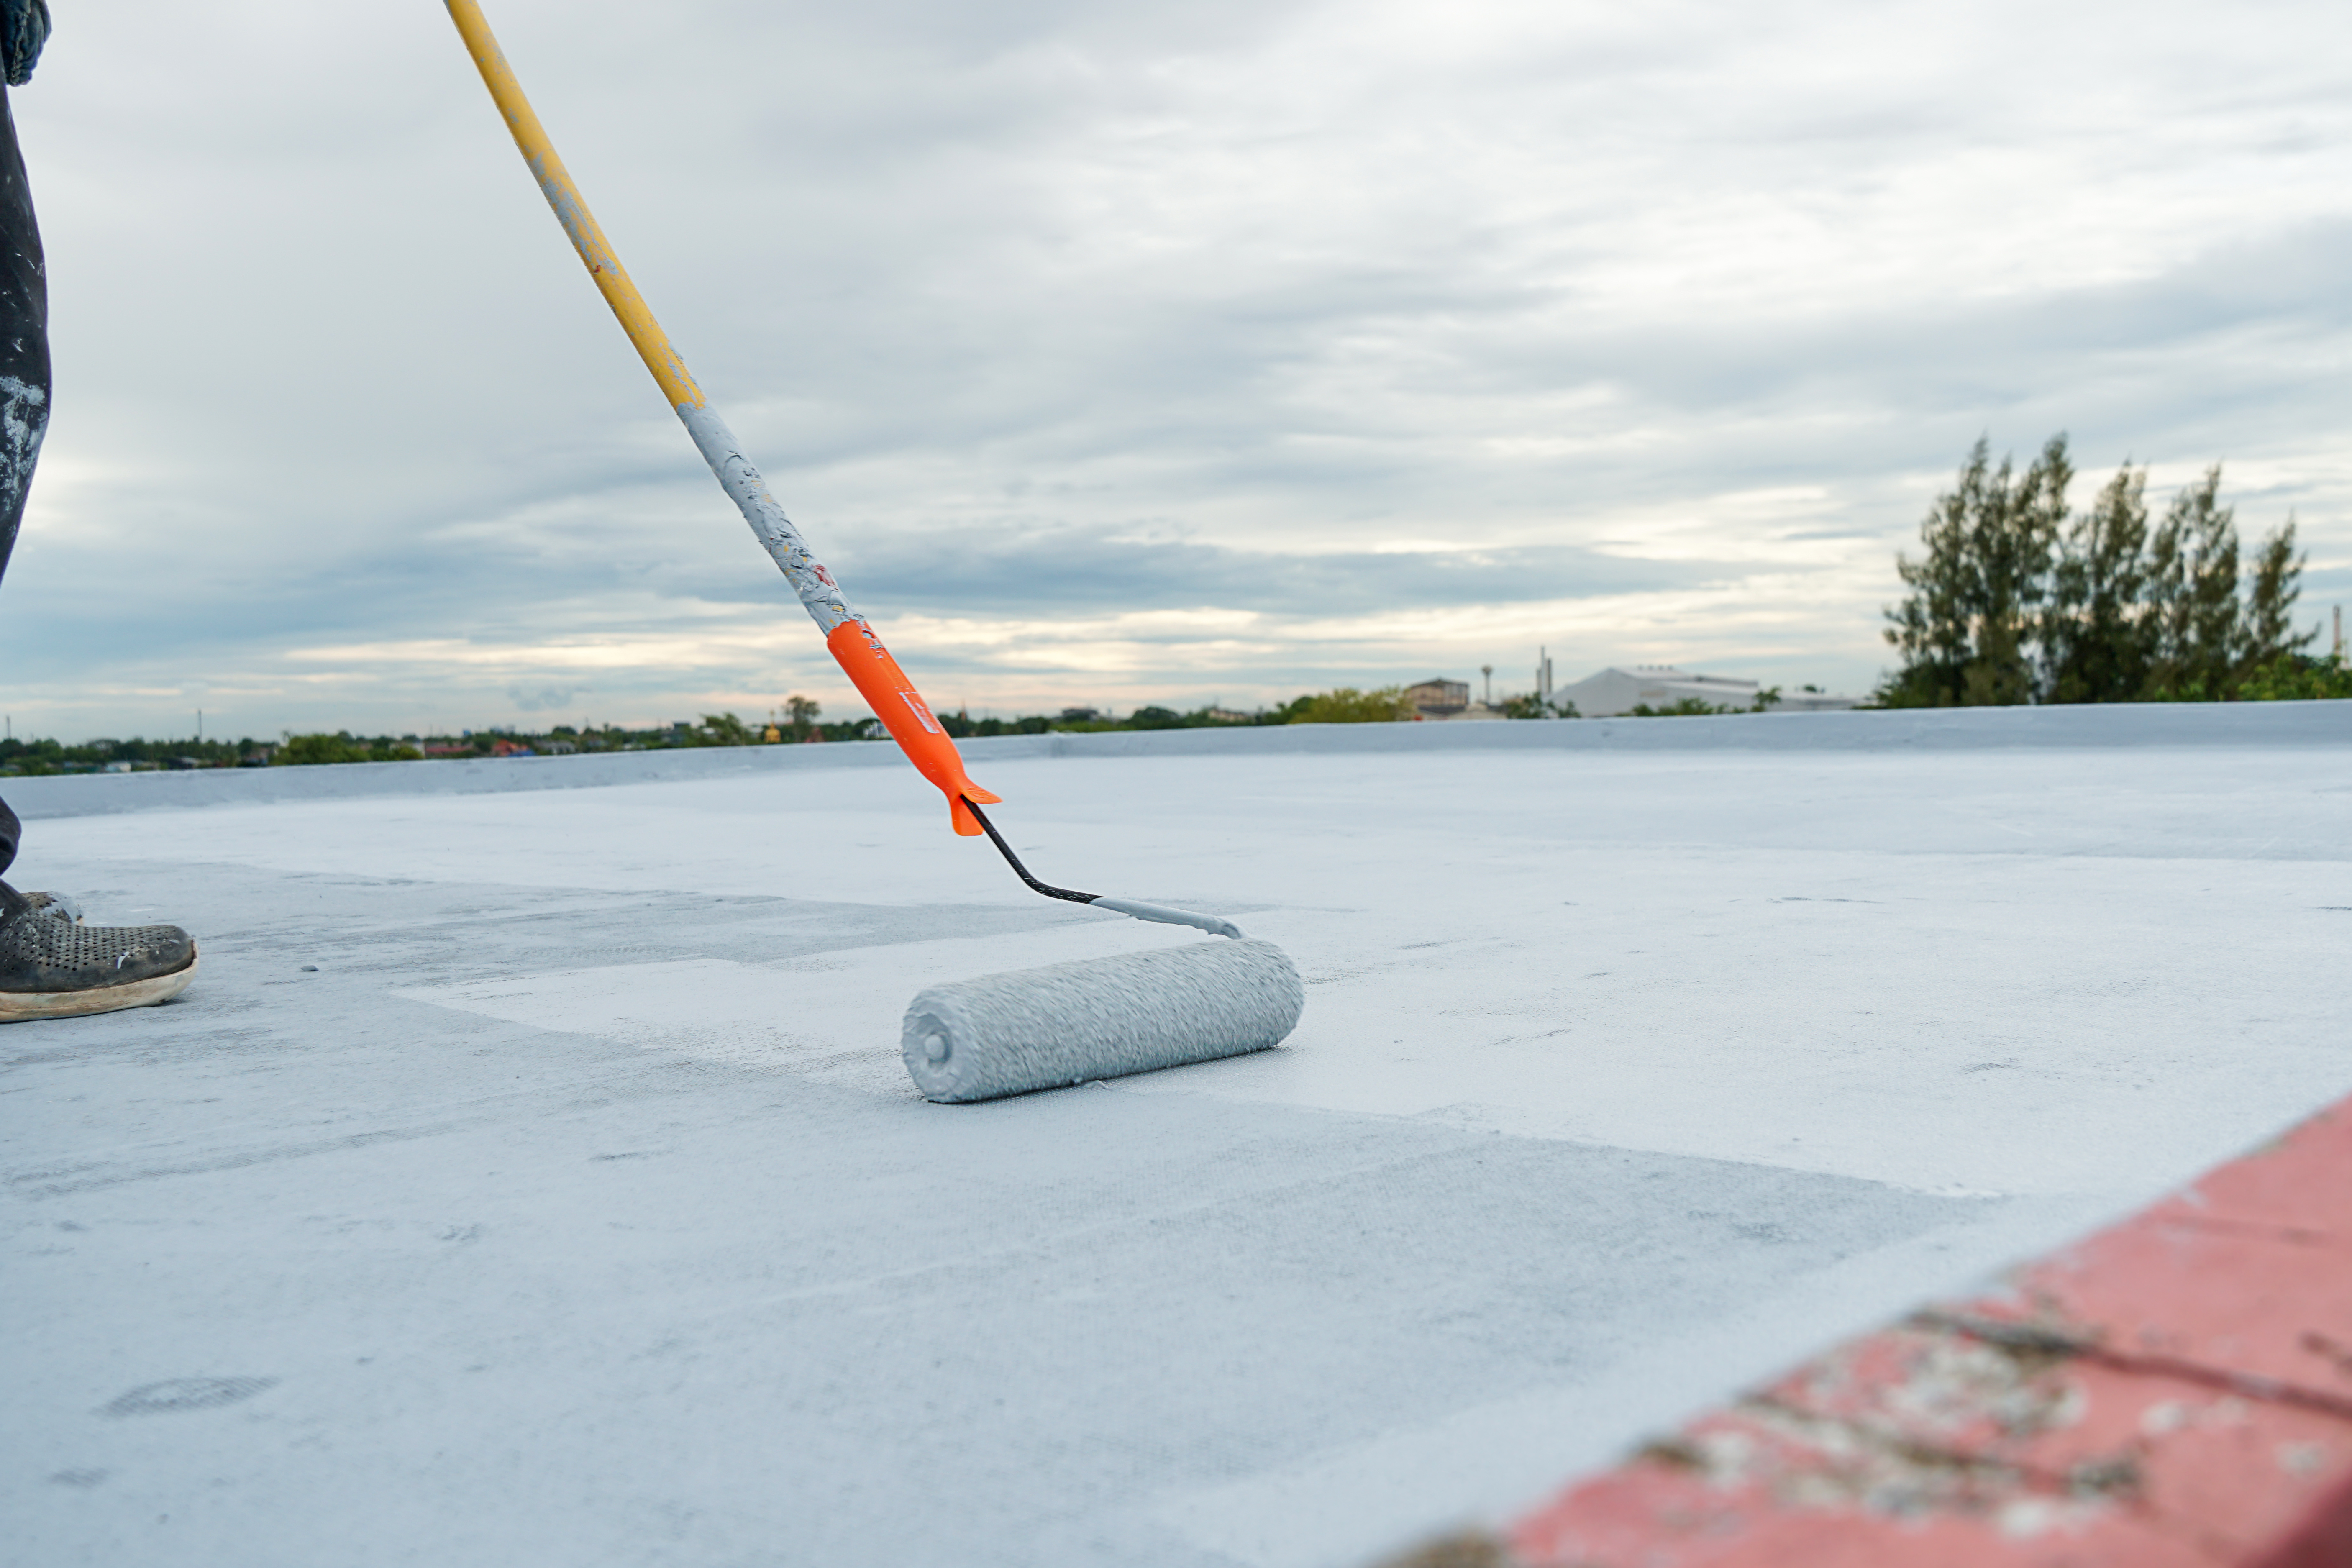
[It is always advised to read a product's data sheet before use]
Sin #5: Disregarding Cure Times
Patience is a virtue, especially in waterproofing. Once the membrane is applied, it needs time to cure - the chemical process where the polymer chains come together and the product achieves its physical properties. Rushing this stage is a critical error. Exposing a membrane to water, foot traffic, or covering it with tiles or soil before it has fully cured can cause irreversible damage.
How to Avoid It:
Respect the clock and the weather.
Sin #6: Skipping Comprehensive Quality Assurance
You've prepped the surface, primed and detailed, and applied the membrane perfectly. But how can you be 100% certain it’s watertight before it's covered by tiles, soil, or other finishes? Simply hoping for the best or relying on an old-school flood test is a significant gamble. Modern construction demands robust Quality Assurance (QA). Skipping this final verification is a critical sin that can negate all your hard work, leading to hidden leaks that only reveal themselves after costly finishes are installed.
How to Avoid It:
Implement a multi-faceted QA strategy to verify the integrity of the membrane. While flood testing has its place, the industry is increasingly adopting more advanced, less intrusive methods. A proper QA plan should include:
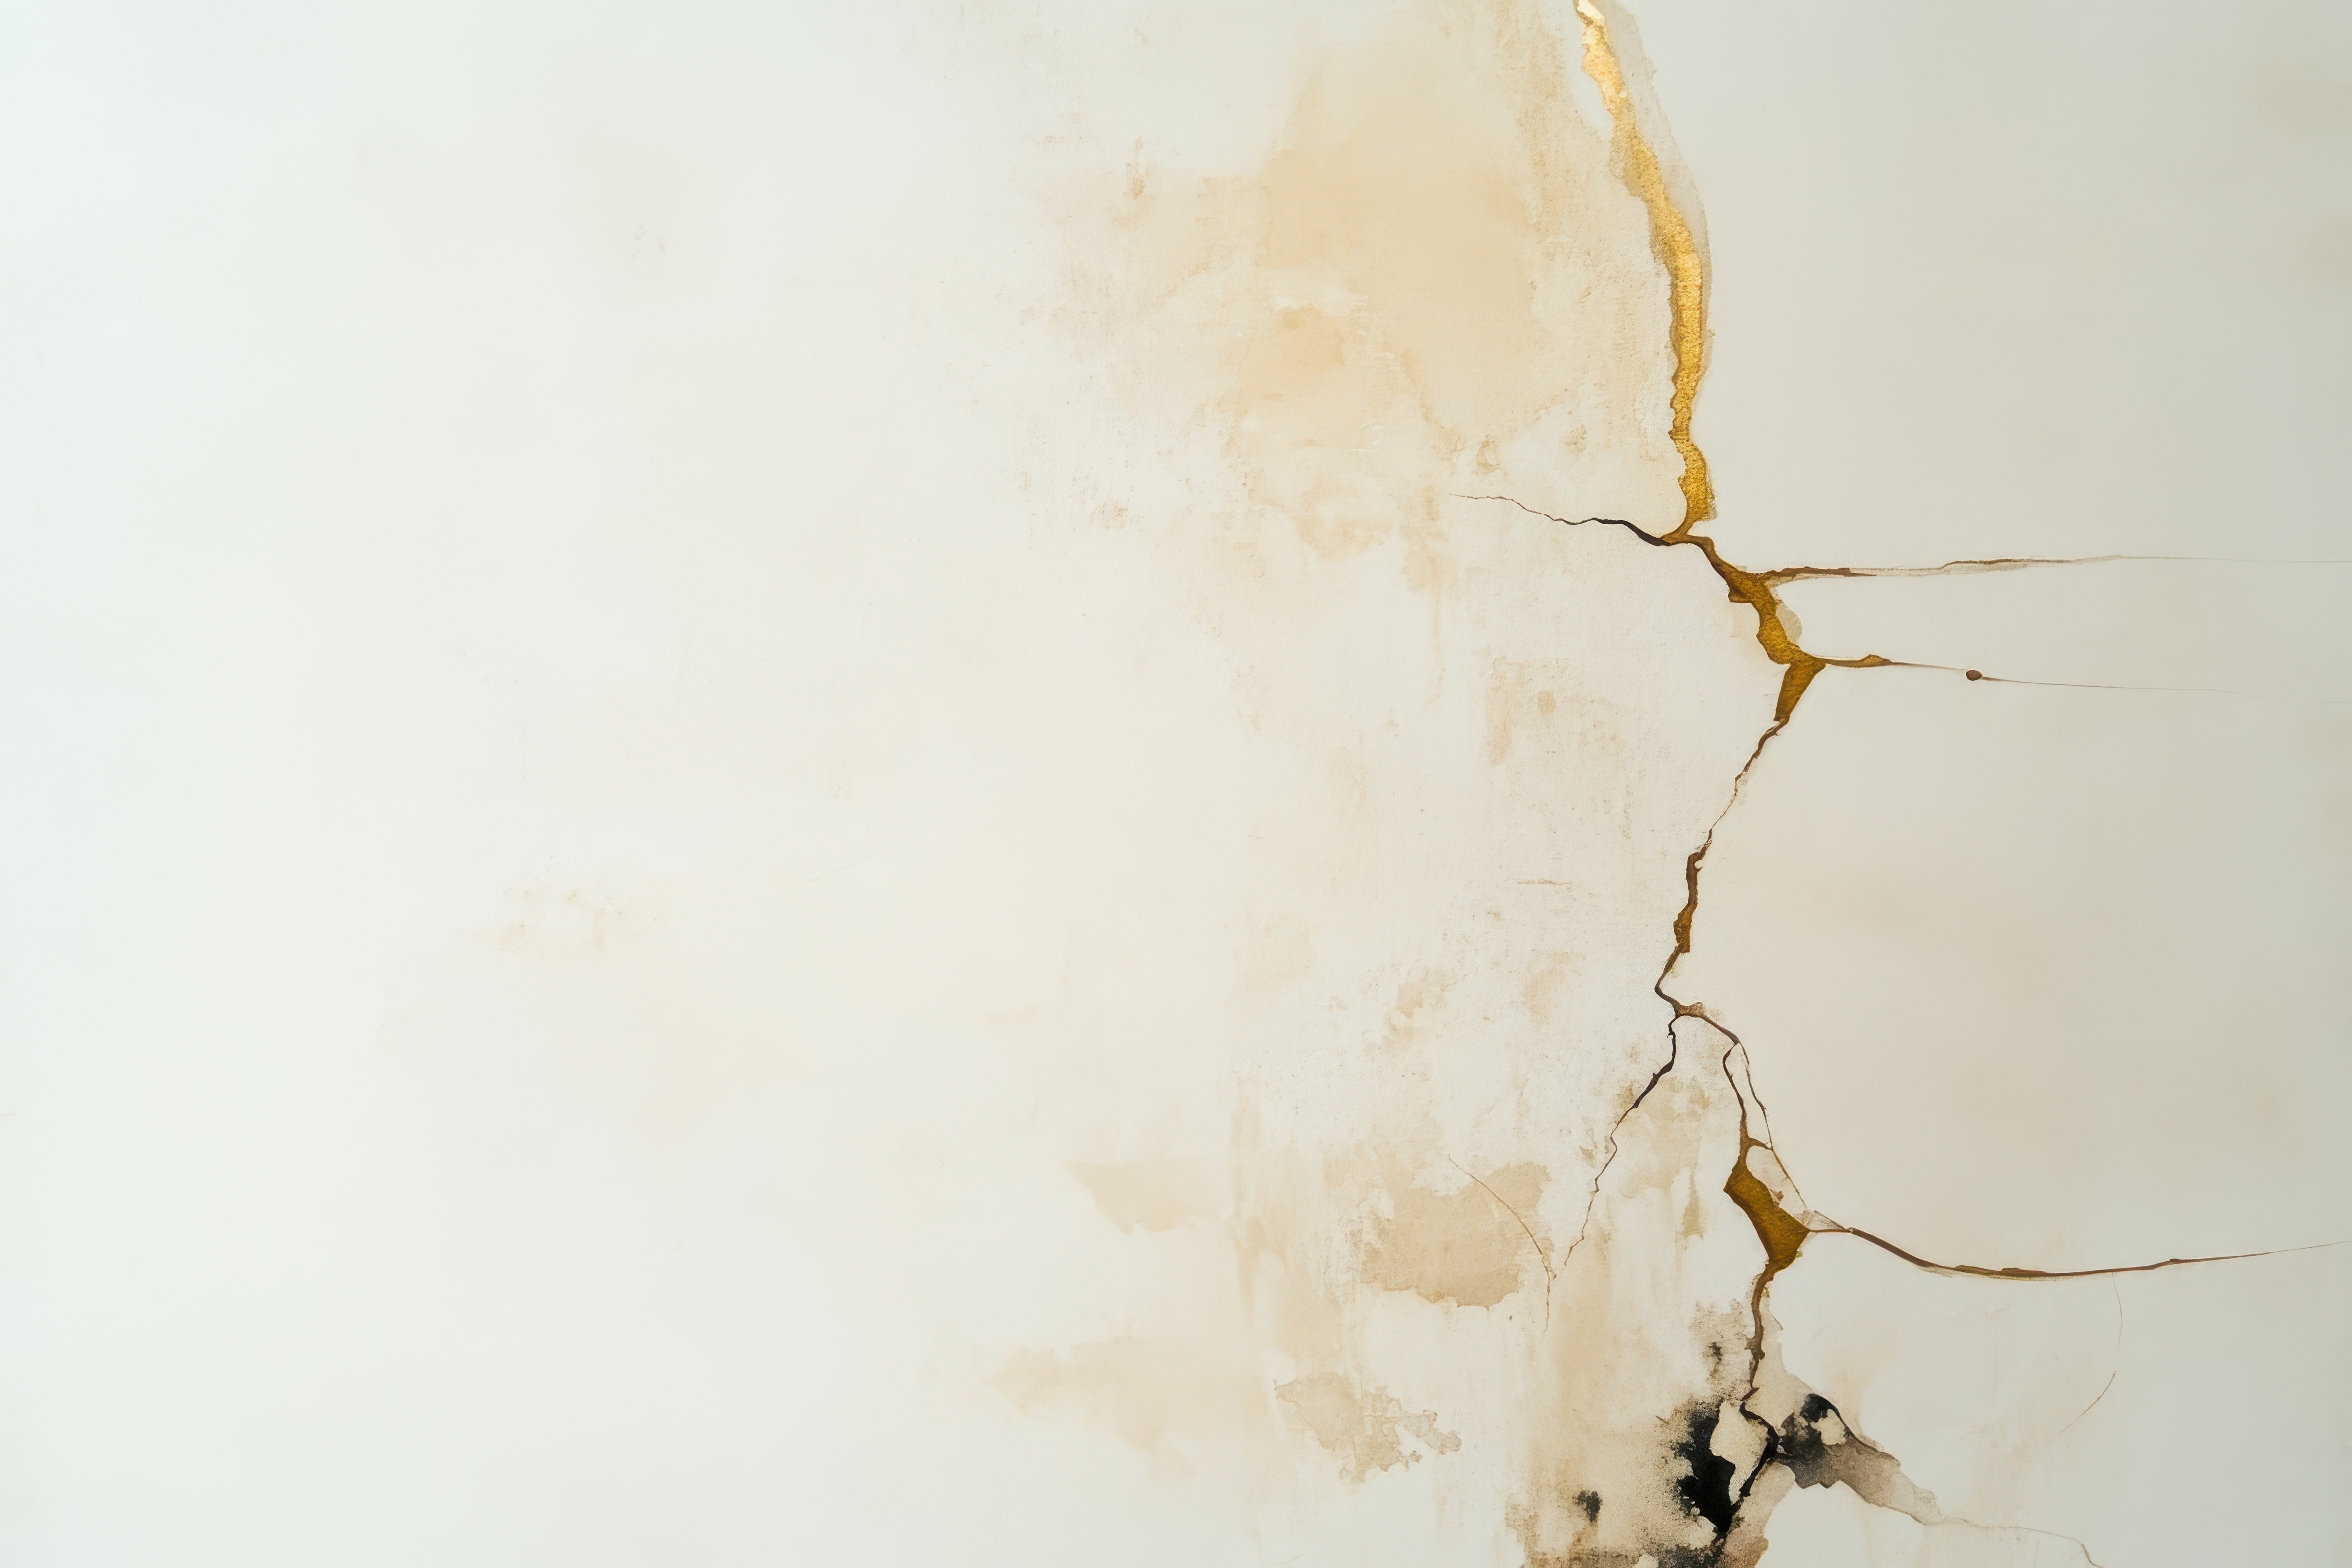
[Waterproofing gone wrong – a damaged ceiling with water stains and cracks]
Sin #7: Neglecting Moisture Management
A waterproofing membrane is your final line of defence, but it should never be the only one. A common sin is to rely solely on the membrane to hold back water, ignoring the principles of moisture management. This approach fails to address the root cause: water pooling against the structure. Without effective drainage, you create constant hydrostatic pressure and ponding water, which will relentlessly search for any weakness and dramatically shorten the lifespan of even the best-applied membrane.
How to Avoid It:
Design a complete moisture management system that addresses both surface and subsurface water. The goal is to direct water away from the building, not just block it.
Waterproofing is a precise science, not a general maintenance task. By understanding and avoiding these seven sins, you move from guesswork to professional execution. Meticulous preparation, correct product selection, and a patient, detail-oriented approach are the cornerstones of a successful project. Taking the time to do it right ensures your work will protect the asset for years to come, saving you, and your clients, from the costly consequences of water damage.
Ready to ensure your next project is watertight and worry-free? Contact our Specification Team or Technical Representatives today for expert advice and tailored waterproofing solutions stand the test of time!
 Waterproofing
Internal vs External Waterproofing Membranes - What are 3 Key Considerations?
Waterproofing
Internal vs External Waterproofing Membranes - What are 3 Key Considerations?
Waterproofing membranes are crucial elements in construction projects. Discover 3 key considerations when choosing a membrane.
 Waterproofing
 Challenges in High-Rise Construction
Waterproofing
Waterproofing Challenges in High-Rise Construction
High-rise buildings dominate Australia's urban landscape, from Sydney's towering residential complexes...


